Planning and Construction
As a child of the 80s I played a lot of the classic arcade games growing up. Many an allowance was spent on Ms. Pac-Man, Galaga, Donkey Kong, or Dig Dug. So it was an exciting day in early 2009 when I first learned about MAME, the Multi Arcade Machine Emulator, a program that lets you run classic arcade and console games on a modern computer.
I immediately installed the emulator and set off to the dark grey corners of the internet to get a set of ROMs, the original machine code, for my favorite games. As exciting as it is to play Pac-Man on your home computer, using the arrow keys on your keyboard is not the same an old school joystick and big red button. But the internet has a solution for that.
 A little digging around led to the Build Your Own Arcade Controls forums. This a great community drawing in a unique cross section of woodworkers, custom car guys, and computer geeks. It was here that I learned about keyboard encoders that let you easily hook buttons and joysticks up your computer. So I ordered an i-pac, a joystick, and some Happ Buttons and quickly threw together a control panel that I could clamp to my desk. Not the prettiest solution but it let me get my game fix while beginning to fantasize about building a full size Ms. Pac-Man replica cabinet.
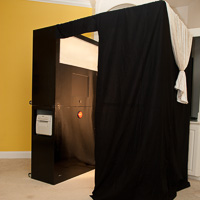 Dreams of builing an arcade cabinet got put on the back burner while I used what I learned on the BYOAC forum to build my Photobooth Mk-II. Not as easy to carry to Mexico in a golf bag but much sturdier.
For the next year or so, I continued to read the forums, tinker with ideas, sketch theme artwork, and try to convince Julie that a full size cabinet would fit in the house somewhere. In that period, I learned about 60-in-1 Boards which run MAME on a single board computer with a video connector and a wiring harness for the buttons. Much cheaper and smaller than using a dedicated computer.
I also saw a couple of people building bartop sized cabinets. Smaller, more portable, and cheaper to build equals a greater WAF (wife acceptance factor).
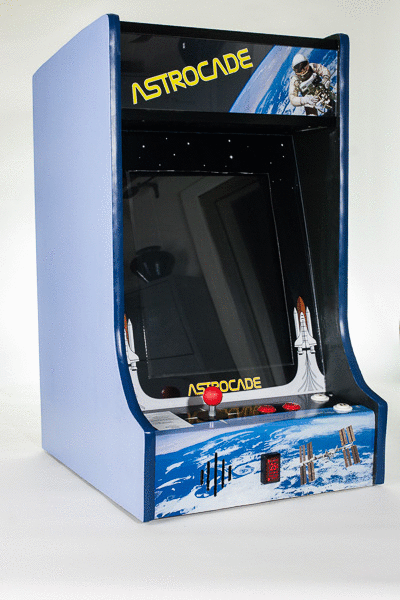
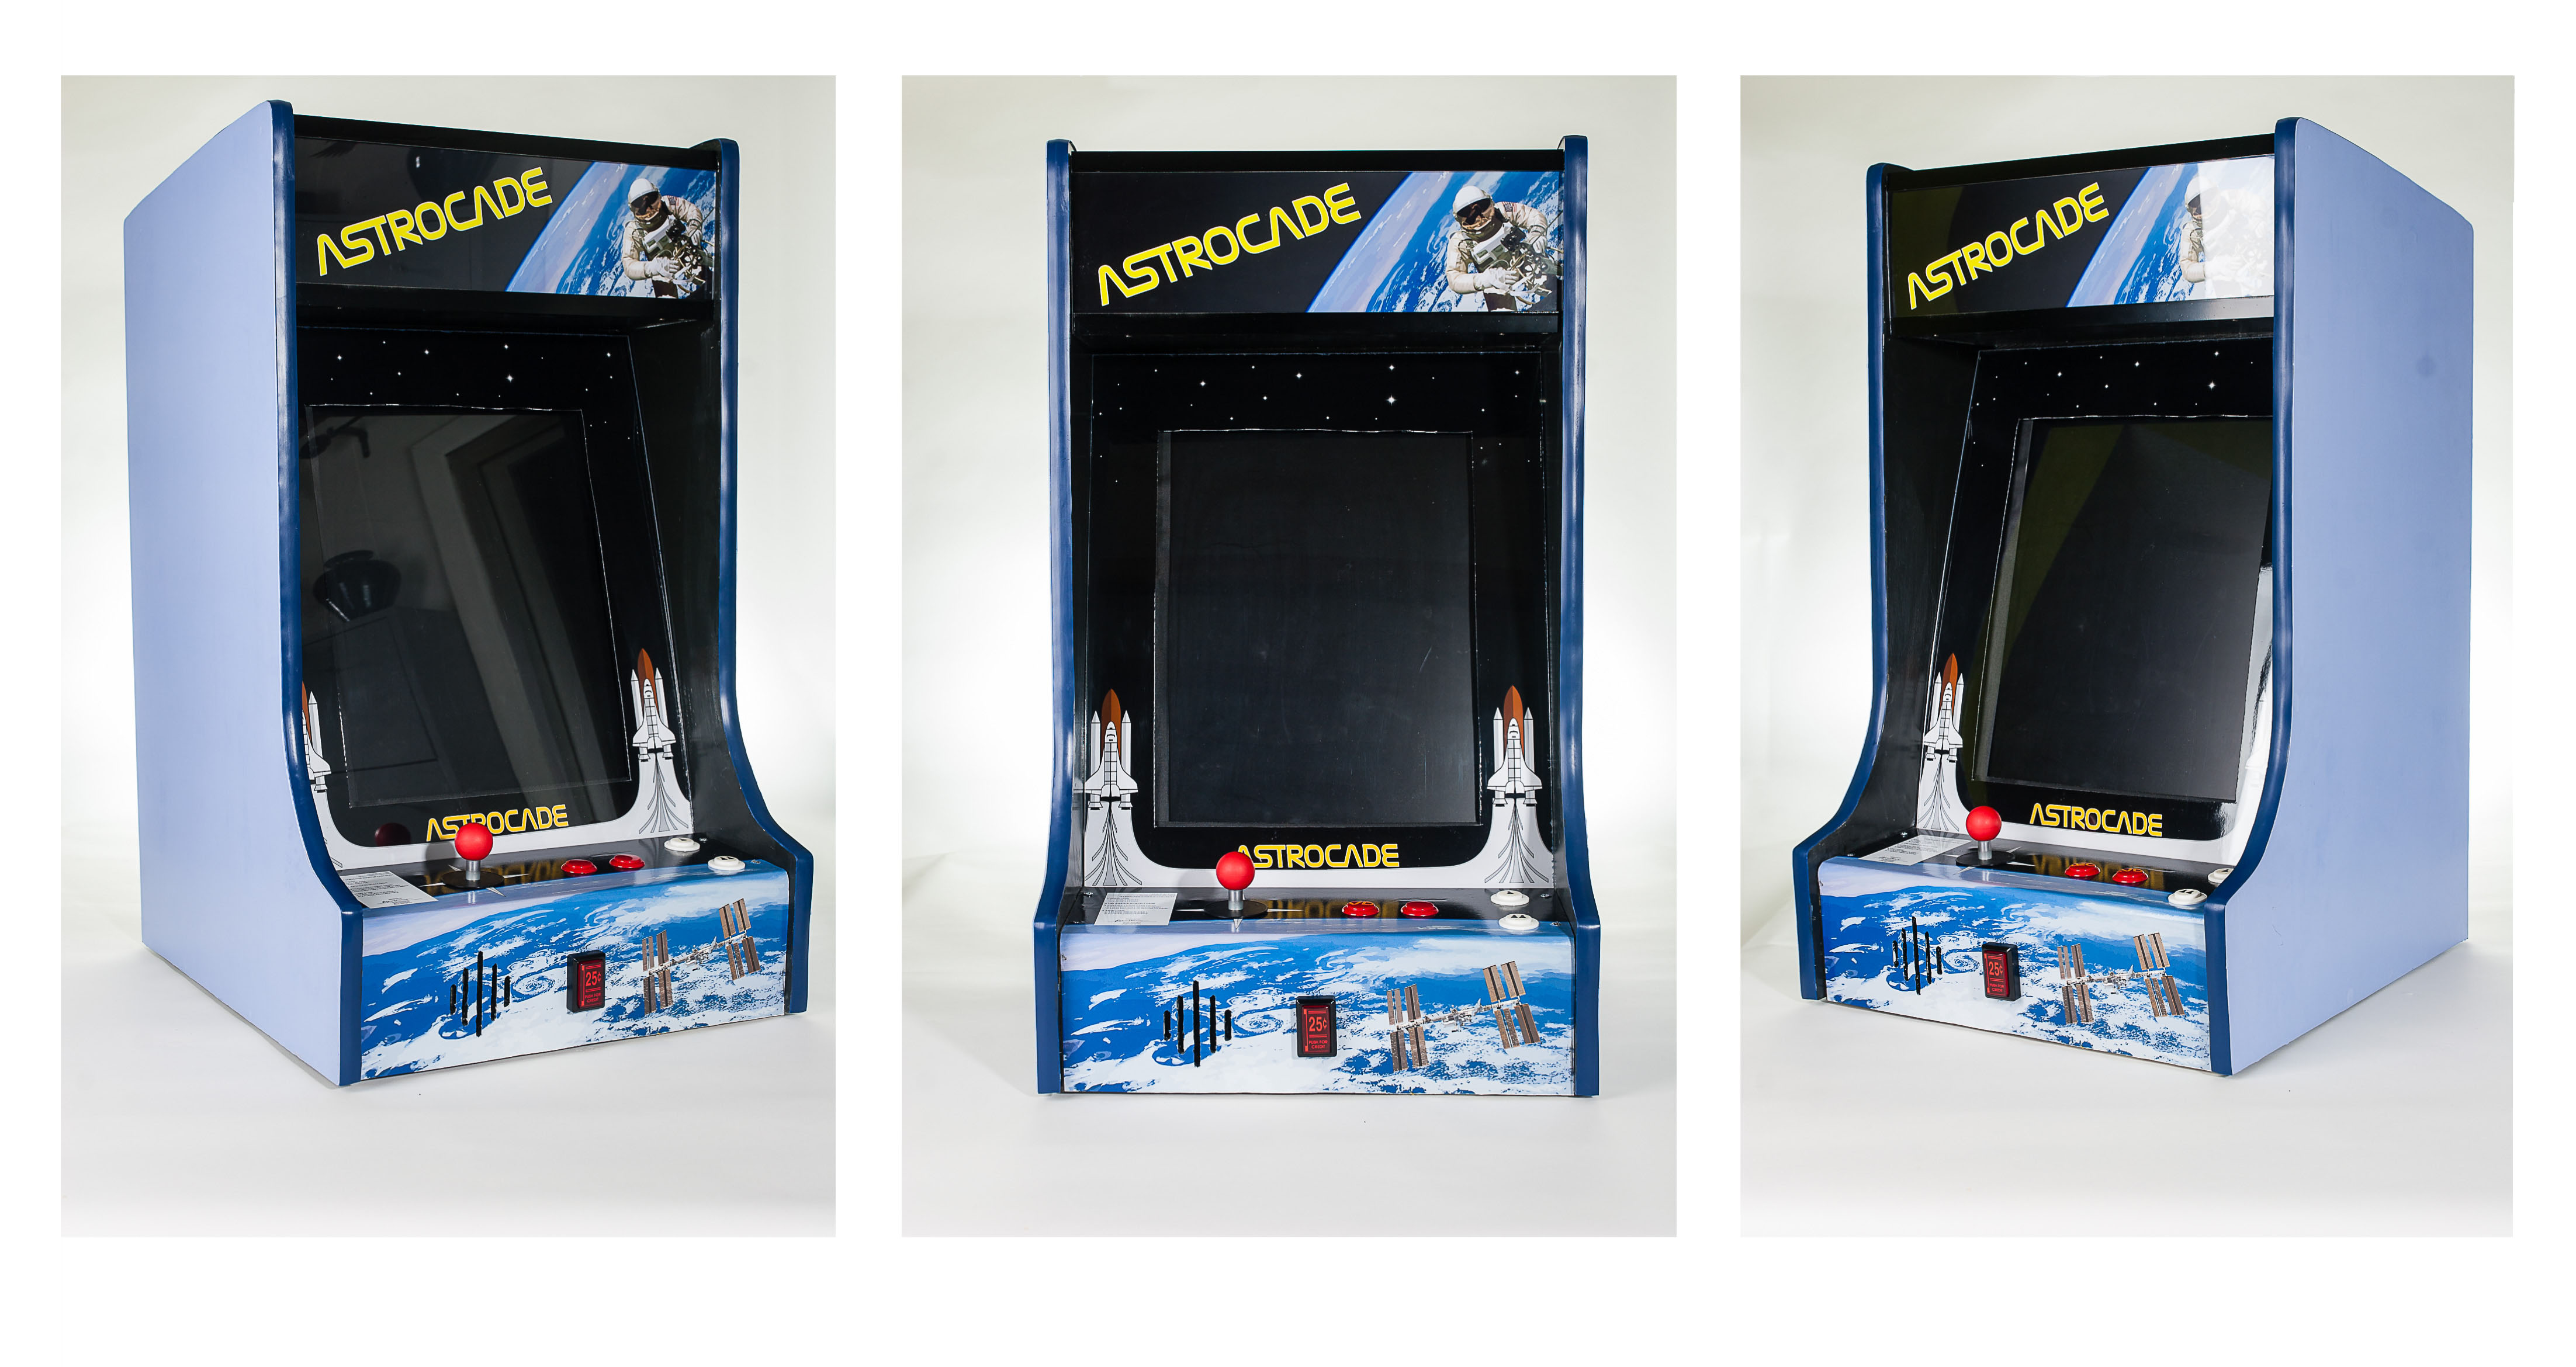
As the Space Shuttle Program wound down in 2010 and 2011 I decided on the Astrocade theme and would periodically play around with drawing up plans and sketching out designs for the marquee. But between new jobs, new houses, and the usual family commitments, little progress was made.
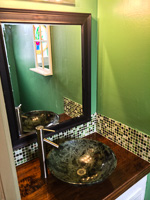
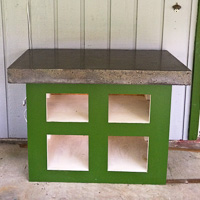
Finally, in January 2014 I was ready to take the plunge. I took my Christmas/Birthday money (thanks Mo and Pop) to Clark's Hardwood Lumber a bought a sheet of MDO for the arcade cabinet and some walnut for the powder room vanity (ask me about that time Julie and Boys couldn't resist tearing all the old wallpaper of the walls). Over the rest of Christmas break I finalized my plans, began cutting wood, and added my project announcement to the forum.
Further play testing with my jury-rigged control panel showed that my Happ joystick and buttons were not going to cut it. Especially when the internet tells you can get custom 4-way Pac-Man replacement joysticks from Tornado Terry's and good Japanese buttons from the Paradise Arcade Shop.
 December provided the cooler weather and forced vacation/furlow provided the free time. Over the course of a week I was able to get the main part of the cabinet assembled and control panel layout finalized. There is a point in every arcade cabinet build where it is mostly assembled and you decided to hook up the electronics just to "check things out."
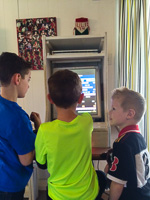
This dangerous time was compounded by Max asking if the cabinet would be ready for his Fun and Games birthday party; the primed, artworkless cabinet spent the rest of December in the living room. If Max was going to have it for his birthday, I was going to have it for mine.
Having ordered the artwork for the marquee, bezel and the control panel overlay, I bit the bullet and took everything apart to finish painting. So while Julie and the Boys were up in Austin I painted, and sanded, and painted, and sanded some more. All the painting (and did I mention the sanding) was paid off with a very sincere "Oh wow!" when I made Julie feel the sides after they got back into town.
So with 3+ weeks of work, over the course of 13 months, after 6 years of planning, I give you the "Astrocade"
Inspiration
A shout out to several of the projects from which I drew inspiration
- Bella's Arcade, a father builds a 3/4 size Ms Pac-Man cabinet for his daughter.
- Retro-Futuristic Mame cabinet, I want to be this creative and talent when I grow up.
- Donkey Kong bartop, direct inspiration for a vertical bartop cabinet.
- That's How I Roll! (Skeeball), this one is going on the someday list.
Details, details, details
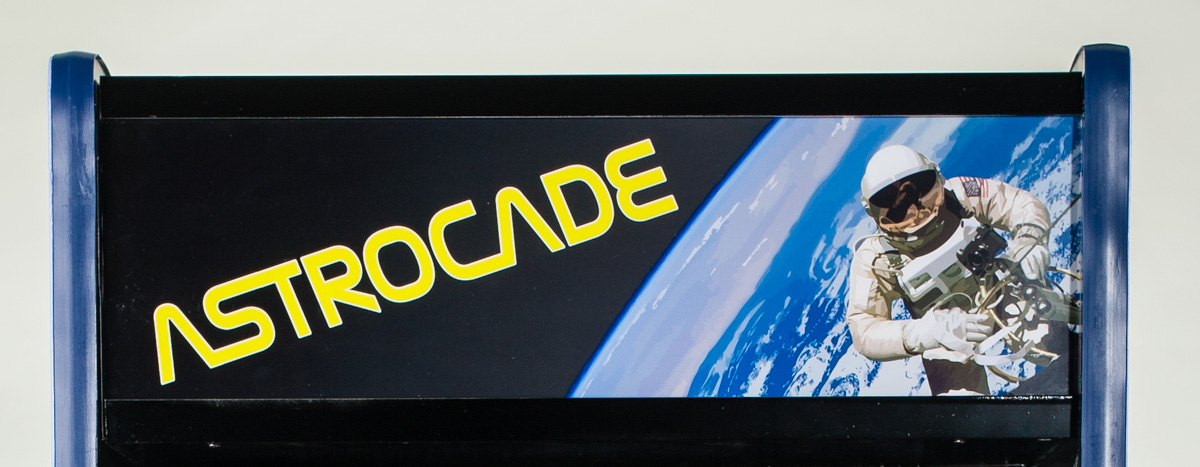
The marquee
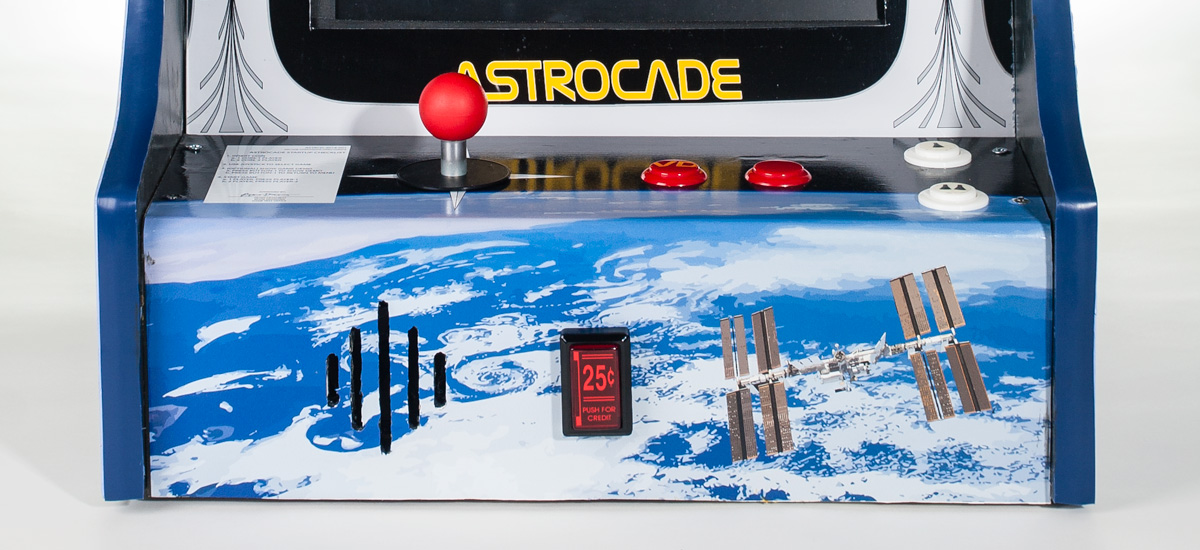
The control panel
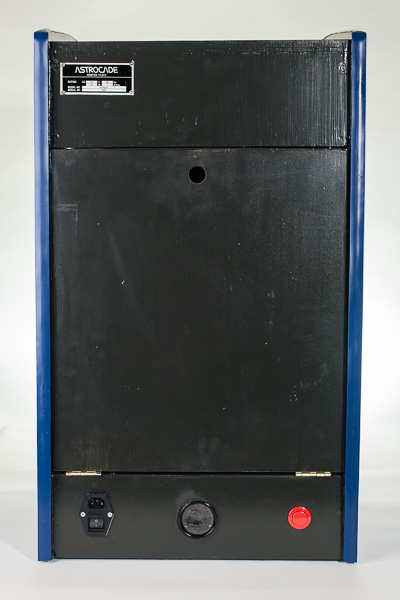
The back panel
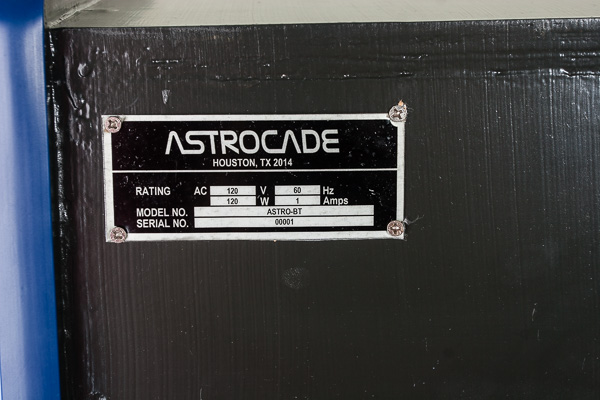
Custom serial plate inspired by CoryBee
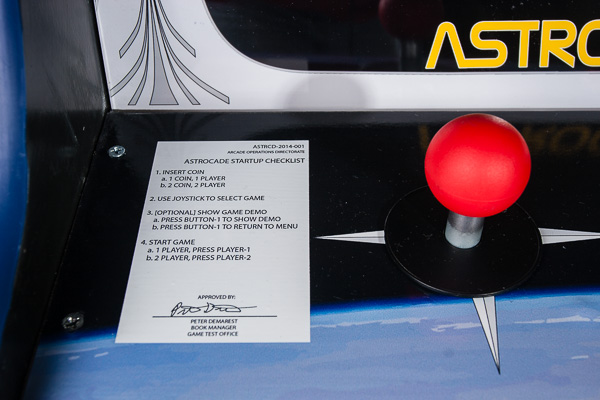
A NASA style Startup Checklist
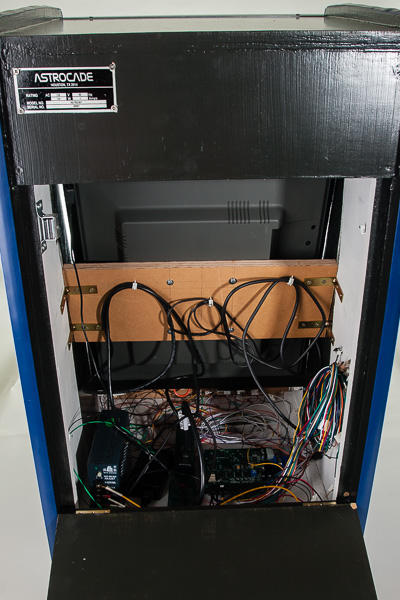
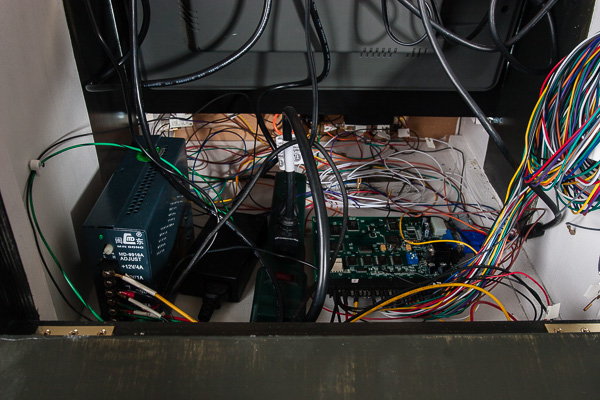
Wires, wires, everywhere
The Games List
Most of the games on the 60-in-1 board require a 8-way joystick, but my favorites are all 4-way games. So the games selection is culled down to 4-way games with one button, a second button was added primarily for Qix.
- Ms. Pacman
- Galaga
- Frogger
- Donkey Kong
- Donkey Kong Junior
- Dig Dug
- Mr. Do!
- Space Invaders
- Pac Man
- Tank Battalion
- Burger Time
- Pengo
- Hustler
- Qix
- Mr. Do's Castle
- Shao-lin's Road
- King and Balloon
- Pooyan